
AI Storyboards for a Short Film: From Script Page to Moving Frames
By The Fellowi Team · · 8 min read
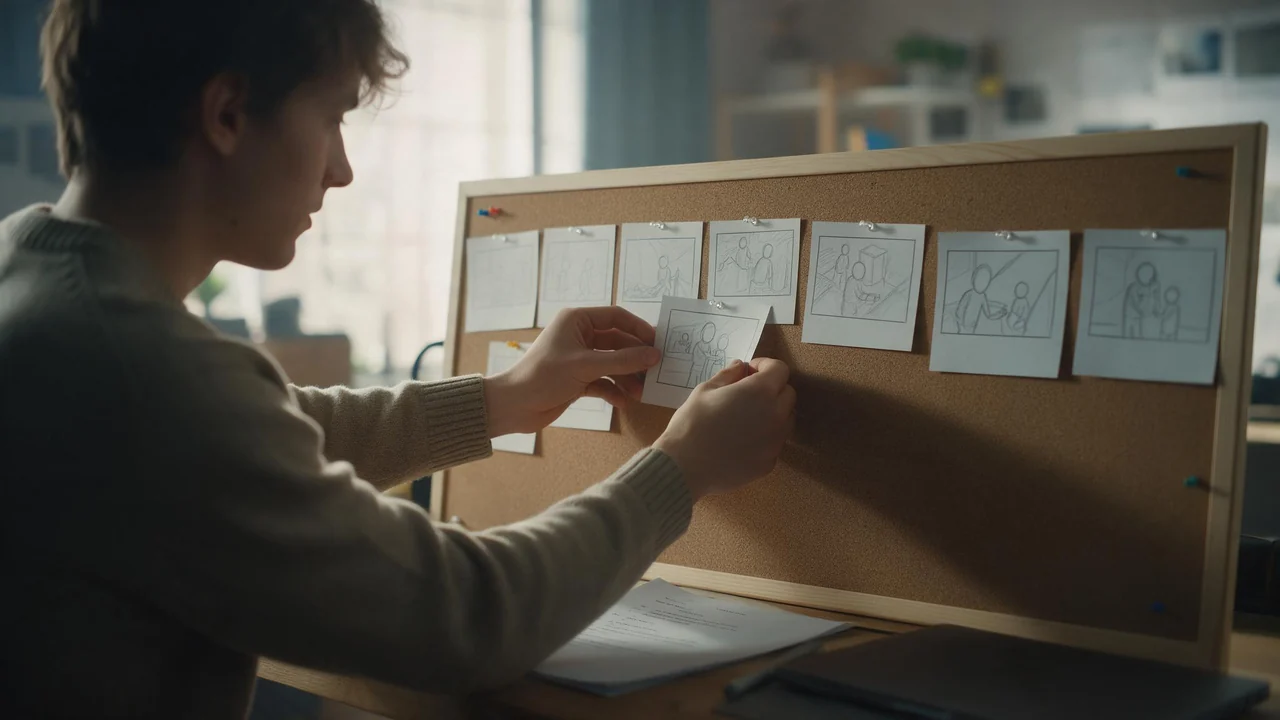
A storyboard is a promise you make to the rest of the crew: this is what we are shooting, in this order, framed like this. Directors who cannot draw have always worked around that with stick figures, photos of friends standing in a kitchen, or a storyboard artist they could not quite afford. An image generator gives you a fourth option. This handout walks through it on one worked example, from a synopsis to a shot list, to frames in Fellowi Images, to a few test clips in Fellowi Video. It is a pre-production routine, not a way to make the film.
The worked example: “Last Tram”
The short below is invented for this handout; it is not a real production. It runs about three minutes and has two characters.
Mira, a tram driver in her late fifties, is driving the last tram of the night through a wet city. The only passenger, a man in his twenties, sleeps by a window with a paper-wrapped parcel beside him. At his stop he wakes, hurries off and leaves the parcel behind. Mira sees it in her mirror. She has a timetable to keep. She stops the tram, takes the parcel and runs after him into the rain; the tram waits behind her, lit up and empty.
One paragraph is enough. The point of writing it down is that every shot on the list has to earn its place against it.
From synopsis to shot list
Before any prompt, break the story into shots. For each one write three things: the number, the framing, and what the frame must show. The last column is the important one: it is the checklist you will hold every generated frame against.
- 1. Wide, exterior. The tram alone on a wet street at night, under orange street lights. Must show: the hour and the emptiness.
- 2. Medium close-up, driver's cab. Mira lit by the dashboard. Must show: her face, grey braid, orange safety vest; tired, not sad.
- 3. Wide, inside the carriage, from the back. Empty seats, one man asleep by a window. Must show: the parcel on the seat next to him.
- 4. Insert, close-up. The parcel: brown paper and string. Must show: that it matters to someone (careful wrapping, not junk).
- 5. Over the shoulder, cab.Mira's mirror. Must show: the man stepping off, the parcel still on the seat.
- 6. Wide, low angle, exterior. The tram stop. Must show: the man walking away into the rain, the tram doors still open.
- 7. Medium, inside the carriage. Mira standing with the parcel in her hands. Must show: the decision.
- 8. Wide, high angle, exterior. The street. Must show: Mira running, the lit empty tram waiting behind her.
- 9. Two-shot, exterior. The man turning back, the parcel between them. Must show: both faces.
Nine shots for three minutes is a sketch, not a shooting script, and that is the right size for a first board. If you want to see how a similar list works for a still picture series rather than a film, the post on planning a picture series comes at it from that side.
Choose the aspect ratio once, for the whole board
Decide the frame before you generate anything, and do not change it shot by shot. A board that mixes widescreen and square frames tells the crew nothing about composition. For a short meant for a festival screen, 16:9 is the usual choice; for a vertical short made for phones, 9:16. The full list and what each one suits is in the aspect ratio guide.
One trap here: with the aspect ratio on Auto, a generation with reference images takes its frame from the first reference. If that reference is a portrait-shaped picture of your lead, your widescreen board quietly comes out portrait. So for a board, pick the ratio explicitly and leave it there. The video side then works in your favour: on Auto, Fellowi Video keeps the framing of the start image, so a 16:9 frame becomes a 16:9 clip.
Fix the lead before frame one
Mira appears in five of the nine shots, and a board where she looks like five different women is worse than stick figures. So the first picture you make is not shot 1. It is a plain reference of the character: Mira facing the camera, neutral light, plain background, everything the script fixes about her written out (age, the grey braid, the orange vest, the dark uniform jacket underneath).
Then, for every shot she is in:
- Attach that picture as a reference (download it from your history, then upload it as a reference image). A generation with references runs on the editing model, which starts from her instead of from nothing.
- Paste the same written description of her into every prompt, word for word. The reference and the text pulling in the same direction hold the look better than either alone.
- Check the frame against the reference, not against your memory. Faces tend to hold; braids, vests and hands are where drift shows first.
The cheapest image family does not take references, and each reference adds to the price (both on the product page), so it is worth knowing which shots actually need one. Shots 1 and 4 have no people in them; they can be drafted without references at all. The routine for attaching your own pictures is in the reference images guide. If you want to use a real actor's face, you need that person's permission before you upload it.
Generating the frames
Build each prompt straight from its line on the shot list: framing first, then who and where, then light, then the “must show”. Shot 6 becomes something like: “Low-angle wide shot of a tram stop at night in heavy rain. A young man in a dark coat walks away from the camera. Behind him the tram's doors are open, its interior brightly lit. Orange street lights, wet asphalt reflecting the light.”
Add one fixed style line to the end of every prompt and never edit it mid-board: for example “cinematic still, muted colours, soft film grain”, or “rough pencil storyboard sketch” if you would rather the board looked drawn. A board where every frame has the same look reads as one film; one where the style wanders reads as a mood collage.
The Enhance prompt qualityswitch rewrites your prompt into a fuller one for a small extra charge. For a mood frame that can help; for a board, read the result against the “must show” column, because a richer prompt can also add things the shot did not ask for. Make a couple of versions of each shot, keep the one that shows what the list says, and move on. Perfecting frame 3 while frames 4 to 9 do not exist is the classic way a board never gets finished.
Animating the key frames as test clips
Not every frame needs to move. Animate the ones where movement is the open question: in “Last Tram” that is shot 6 (how long does the walk away feel?) and shot 8 (does a high wide angle make the run look desperate or small?).
- Every finished picture in your history has an Animate this photo button. It opens Fellowi Video with that frame as the start image, and the start frame itself is free.
- Describe the motion and the camera, not the scene again: the picture already holds the scene. “The man walks slowly away into the rain, the camera stays still” is a full prompt. More on that in the video prompt guide.
- For a test, take the faster turbo variant, the shortest duration and a modest resolution. You are checking timing, not grading the image. The options and what they cost are on the product page, and drafting cheap first covers the habit in general.
- An optional end frame (image-to-video only) makes the clip travel between two stills, say shot 7 into shot 8. It adds the reference rate to the price; use it when the transition itself is what you are testing.
- Sound is off by default and costs extra once per clip. For a timing test, leave it off; the post on video with sound explains when it is worth turning on.
A clip takes minutes to render, so queue the two or three you need and go back to the board while they run. If a generation fails, its coins come back. Why start from your frame rather than from text alone is the subject of text-to-video versus image-to-video; for a board the answer is simple, because the frame is the thing you already agreed on.
What the board cannot do
- Exact continuity.Each frame is a new picture. The parcel's string, the stripe on Mira's vest, which hand holds what: these tend to drift between frames even with a reference. On a board that is acceptable; on set it is the script supervisor's job.
- Readable text.Signs, the tram's destination board, a name on the parcel: image models are unreliable with lettering. Leave text out of the prompt and write it in the margin.
- Camera data. A frame that looks like a wide lens tells your camera operator nothing about the real lens, the distance or the height. Those are decisions for the shoot.
- Editing and sound. There is no timeline and no sound design in the product. Test clips are short clips, not a cut; you cannot judge the pace of the whole film from them.
- Replacing the shoot.No generated frame replaces an actor's performance, a real location in real rain, or the crew who will find a better shot than the one on the board.
A few things from our terms worth knowing before you share the board. Commercial use is allowed, but there is no exclusivity (another user can get a similar frame), and machine output may not be protectable by copyright; the details are in who owns AI-generated images. Uploads are sent to the third-party provider that renders them, so keep private material out of your references. And generated files are deleted after a retention period, so download the board and the test clips you want to keep. If you would rather read how one person actually took a short video from idea to finished file, coins and all, that is the start-to-finish diary.
Questions this post answers
Can an AI image generator make a storyboard from my script?
It can draw the frames, one prompt per shot, once you have broken the script into a shot list yourself. The breakdown (what each shot must show) is still your job, and it is the part that makes the board useful.
How do I keep the same character in every storyboard frame?
Generate one clear reference picture of the character first, then attach it to every frame they appear in and repeat the same written description. It holds the face and the overall look well enough for a board, but small details like props and costume can drift, so check each frame.
Can I turn the storyboard into a finished film?
No. You can animate key frames into short test clips to check movement and timing, but there is no editing timeline or sound design in the product, and continuity between clips is not exact. The board plans the shoot; it does not replace it.
Keep reading
Generation Plans: A Monthly Coin Subscription for Images and Video
A second subscription, separate from your chat plan: coins for Images and Video land in your wallet every month, automatically.
Draft Cheap, Finish Once: Spending Fewer Coins on AI Images and Video
The picture you keep is rarely the expensive part. The six before it are. Here is the order to turn the paid switches on, and the ones you can leave off entirely.
Every Dial in the Studio, and Which Ones Actually Change the Result
Most of the settings do less than you think and two of them do far more. Here is the honest ranking, with what each costs.