

An AI Profile Picture From Your Own Selfie: A Practical Walkthrough
By The Fellowi Team · · 6 min read
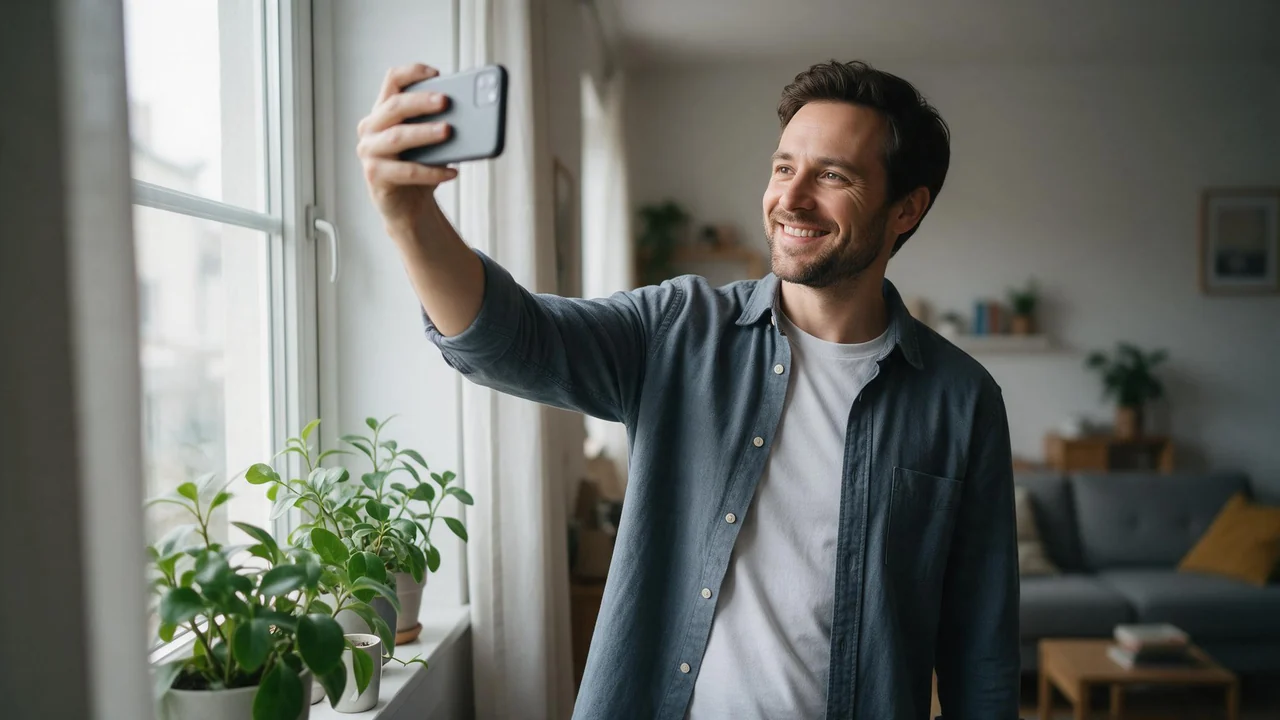
A profile picture has one job: to look like you on a good day, in a setting you did not have to travel to. You already have the raw material, which is a selfie. This walkthrough turns it into a portrait in Fellowi Images, in the order the work actually happens, and it ends with the honest part: what the result will and will not be.
1. Choose the selfie the model can read
The picture you upload matters more than anything you type afterwards. What helps:
- Your face, large. Head and shoulders, filling most of the frame. A full-length mirror shot gives the model very few pixels of face to work from.
- Even, front light. A window in front of you, not behind you. Hard shadows across half the face get copied as if they were features.
- Nothing over the face. No sunglasses, no hand at the chin, no hair across one eye, unless that is how you want to look in every result.
- No beauty filter.A smoothed, slimmed selfie becomes the reference for “you”. Start from the real face and decide later how polished you want it.
2. Upload it as the first reference
In the studio, open Reference images and choose Upload your own. You will be asked to confirm that the photo is of you, or that you have permission from the person shown. If you add more than one reference, keep the selfie first: with the aspect ratio on Auto the frame is based on the first reference, and keeping your face there is what holds the likeness.
A second reference can carry something else, such as the mood of a picture you like or a background you want. The deeper mechanics are in editing with your own photo.
3. Pick the frame for where it will live
Most profile pictures end up in a circle cut from a square, so choose 1:1 rather than Auto. Keep your face roughly in the middle of the frame, because the corners will be cut away. For a banner or a cover image you want a wide ratio instead; the aspect ratio guide matches each shape to the place it is used.
4. Write the change, not the face
The reference already says what you look like. Describing your features again (“brown eyes, short dark hair”) gives the model a second, vaguer description to compete with the photo, and the photo can lose. Describe only what should be different:
- “Same person, studio portrait, plain warm grey background, soft key light.”
- “Same person, navy blazer over a white shirt, office window behind, shallow focus.”
- “Same person as a watercolour illustration, loose brushwork, cream paper.”
Change one thing per picture. If you swap the background, the clothes and the style all at once and the face drifts, you will not know which change pulled it away.
Leave Enhance prompt quality off for this. It rewrites your prompt in full before drawing, which helps a long scene and works against a short, exact instruction. When the rewrite helps is its own question.
5. Generate a handful, then choose
Every render is a fresh attempt, and resemblance varies from one to the next. Make a few with the same prompt and pick the one your friends would recognise without being told. Then, if you like it, use that result as the reference for the next variation: a good output is often a steadier anchor than the original selfie.
If a render fails, the coins come back automatically. One detail worth knowing: after a failed first attempt the generator retries once with a softened version of your prompt, so a picture that arrives after a stumble may follow slightly different wording.
What it cannot do
- Guarantee a likeness. It edits towards your photo; it does not measure your face. Expect a convincing version of you, not a photograph of you.
- Hold the small things. Freckle patterns, a scar, the shape of your teeth, glasses with a specific frame, lettering on a shirt: these drift or vanish. If one of them is part of how people know you, check it in every result.
- Replace an official photo. Nothing made this way belongs on an ID, a visa form or anywhere a real, unedited photo is required.
- Run on the cheapest option. The lowest-priced image tier does not take reference images, so this needs one of the full ones. Each reference also adds to the price; the current numbers are on the product page.
- Stay on our side only. To render your picture, the uploaded photo is sent to our image-generation provider along with the prompt. If that is a problem for a particular photo, do not upload it.
Two rules, and one piece of manners
Upload only your own face, or someone else's with their permission: that is the condition you confirm in the upload box, and it is in the terms. Sexual or intimate imagery of a real, identifiable person is refused, and the terms make no exception for the person who uploaded it. A profile picture is a clothed picture.
The manners: if the picture will meet people who will later meet you, keep it close to the real you. A portrait that flatters the light is a profile picture; one that changes your face is a promise you cannot keep in person. The same thinking, at the scale of a whole feed, is in building a consistent persona, and for a portrait of the other member of the household, there is pet portraits from your photos.
Questions this post answers
Will the AI profile picture actually look like me?
It will look like a close version of you, usually closest when your selfie is sharp, front-lit and fills the frame. Small details such as a mole, the exact eye colour or your teeth can drift, so generate a few and keep the one that reads as you.
Can I make a profile picture from a photo of my partner or a friend?
Only with their permission: the upload box asks you to confirm the photo is of you or that you are allowed to use it. Sexual or intimate imagery of any real, identifiable person is refused outright, permission or not.
Does it cost more to use my own photo?
Yes, each reference image adds a small amount to the price of the picture, and the cheapest image option does not take references at all. The current numbers are on the product page, and a render that fails costs nothing.
Keep reading
Draft Cheap, Finish Once: Spending Fewer Coins on AI Images and Video
The picture you keep is rarely the expensive part. The six before it are. Here is the order to turn the paid switches on, and the ones you can leave off entirely.
Standard or High Quality? PNG or JPEG? A Fast Guide
Four settings, one minute to decide. Here's when each one actually matters.
What a Failed Generation Actually Costs You
A failure refunds itself. A refusal never charges you at all. The only thing you really pay for is a picture that worked.